Table of Contents
ToggleBuilding a fire pit doesn’t require a contractor or deep pockets. With the right materials and a weekend of work, you can create a functional gathering spot for roasting marshmallows, warming up, or simply enjoying the outdoors. Whether you’re working with concrete blocks, reclaimed bricks, or salvaged metal, these budget-friendly DIY fire pit ideas range from one-afternoon projects to more involved builds that still stay under $200. Let’s walk through the most affordable options and how to execute them safely.
Key Takeaways
- Cheap DIY fire pit ideas using concrete blocks, metal rings, or reclaimed materials cost under $200 and can be completed in a weekend with basic tools.
- Before building, verify local fire pit regulations and ensure proper placement at least 10–20 feet from structures, with adequate drainage and ventilation.
- Concrete blocks are the easiest affordable option requiring only 20–30 blocks at $1–2 each, while salvaged steel rings and reclaimed bricks offer stylish alternatives for minimal investment.
- Proper safety practices including keeping fires to 2–3 feet in diameter, maintaining a nearby water source, and inspecting structures yearly are essential for long-term pit reliability.
- Stone and brick fire pits require more upfront effort but provide superior heat retention and last indefinitely with minimal maintenance, making them ideal permanent solutions.
Fire Pit Basics: What You Need to Know Before Building
Before you break ground, understand the fundamentals. A safe fire pit needs proper ventilation, adequate clearance from structures, and a contained burn area. Most jurisdictions require fire pits to be at least 10–20 feet from buildings, fences, and tree branches, though this varies by local code, call your city or county to confirm. Check whether you need a permit: some areas allow recreational fire pits, while others require them only in designated zones or restrict open flames entirely.
The three essentials for any DIY pit are: a contained base (to prevent ground fires), drainage (to avoid water pooling), and airflow (to maintain a steady burn). You’ll also want to choose a location with level ground and access to a water source or hose for emergencies. Avoid spots where wind regularly blows smoke toward neighbors’ homes.
Concrete Block Fire Pit: The Easiest Affordable Option
Concrete block is the workhorse of budget fire pits. A standard 8×8×16-inch concrete block costs $1–2 each, and you’ll need roughly 20–30 blocks for a 3-foot diameter pit.
Materials needed:
• 20–30 concrete blocks (or cinder blocks)
• Level ground or sand base
• Optional: landscape fabric and sand for drainage
Steps:
- Clear and level your ground. Remove grass and rake smooth. Add a 2-inch layer of sand if the ground is uneven.
- Arrange blocks in a circle, interlocking corners slightly for stability. Dry-fit first, don’t mortar unless you want a permanent installation.
- Stack 2–3 blocks high for seating-height walls.
- Fill the center with gravel or sand to allow drainage and create a fire bed.
Concrete blocks aren’t the fanciest look, but they’re durable, affordable, and easy to reconfigure if you move. Stack them without mortar for a temporary pit you can disassemble, or use mortar mix (about $5 per 80-pound bag) for a permanent structure. If mortaring, let it cure 24 hours before lighting a fire. Safety note: wear gloves and goggles when handling concrete dust.
Metal Ring Fire Pit: Minimal Tools, Maximum Impact
If you’ve got a salvaged steel ring, from an old water tank, industrial equipment, or a used retaining wall system, you’ve got the core of a stylish pit. Metal conducts heat efficiently and creates strong, defined walls. Search online marketplaces or local scrap metal dealers: a 24–36 inch diameter steel ring typically runs $20–50 used.
Materials needed:
• Steel ring (minimum ¼-inch wall thickness for safety)
• Gravel or sand base
• Optional: grate for cooking
Steps:
- Place the ring on level, cleared ground. A concrete pad or gravel base prevents sinking.
- Fill the interior with sand or gravel up to 4–6 inches for drainage.
- Add a metal grate (15–30 dollars) if you plan to cook. This sits inside the ring.
- Let the metal season with one or two fires before cooking on it: this burns off any residual oils or coatings.
No cutting or welding required. Metal rings heat up quickly and cool fast, so use tongs and leather gloves when handling the rim during a fire. For a rustic look, leave the patina: for a cleaner finish, wire-brush and spray with heat-resistant paint. Check scrap yards and farm auctions, you might find deals on used rings or old drums that can be safely adapted.
Stone or Brick Circle Fire Pit: A More Permanent Solution
Stone and brick create the most finished appearance and last indefinitely with minimal maintenance. Reclaimed or surplus bricks average 50 cents to $1 each: natural stone is pricier but often available at landscape supply yards as overstock. For a 3-foot pit, budget 80–120 bricks or a comparable stone volume.
Materials needed:
• 80–120 bricks or stone, or a mix
• Mortar (1–2 bags of 80-pound mix)
• Landscape fabric (optional, for drainage)
• Level ground
Steps:
- Lay out your circle using chalk or a rope. Ensure level ground: a sunken pit collects water.
- Dry-lay bricks in a ring to check fit and spacing. Slight gaps are fine and allow airflow.
- Mix mortar according to package directions. Spread a ½-inch mortar bed on the ground.
- Place bricks or stones, pressing firmly. Use a level every few bricks to keep walls plumb.
- Mortar joints between stones, tooling them smooth with a jointer tool. Let cure 48–72 hours before firing.
Brick and stone hold heat longer than metal, so they radiate warmth even after the fire dies, a nice bonus for evening gatherings. Wear work gloves, dust mask, and eye protection when cutting brick (if needed). Stone fires last years with no rebuilding: the upfront effort pays off. Resources like Gardenista and Instructables showcase creative layouts and stone-working techniques if you want inspiration.
Reclaimed Materials Fire Pit: Free and Creative
The cheapest option uses materials you might already have or can salvage: old chimney flue tiles, garden edging, clay or terra-cotta pavers, or stacked slate. Check Facebook Marketplace, Craigslist, and estate sales. Many people demolishing patios or fireplaces give away heavy materials just to avoid disposal fees.
Popular reclaimed options:
• Chimney flue tiles (clay cylinders) stack naturally and create a rustic look.
• Old bricks from demolished structures add character and cost nothing if sourced locally.
• Stacked slate or fieldstone found on property or at demolition sites.
• Scrap wood (treated) or concrete chunks as a temporary base or surround.
Reclaimed materials may have quirks, uneven heights, weak mortar joints, or sizing inconsistencies, so inspect before committing. Stack carefully and mortar for permanence. Avoid materials with unknown coatings or treatments: lead-based paint or asbestos insulation on old flue tiles, for example, pose health risks. If in doubt, test with a professional or use newer salvage only. The payoff is a one-of-a-kind pit with zero material cost and maximum personal story. Sunset Magazine’s affordable fire pit guide offers additional budget-conscious pit designs and sourcing tips.
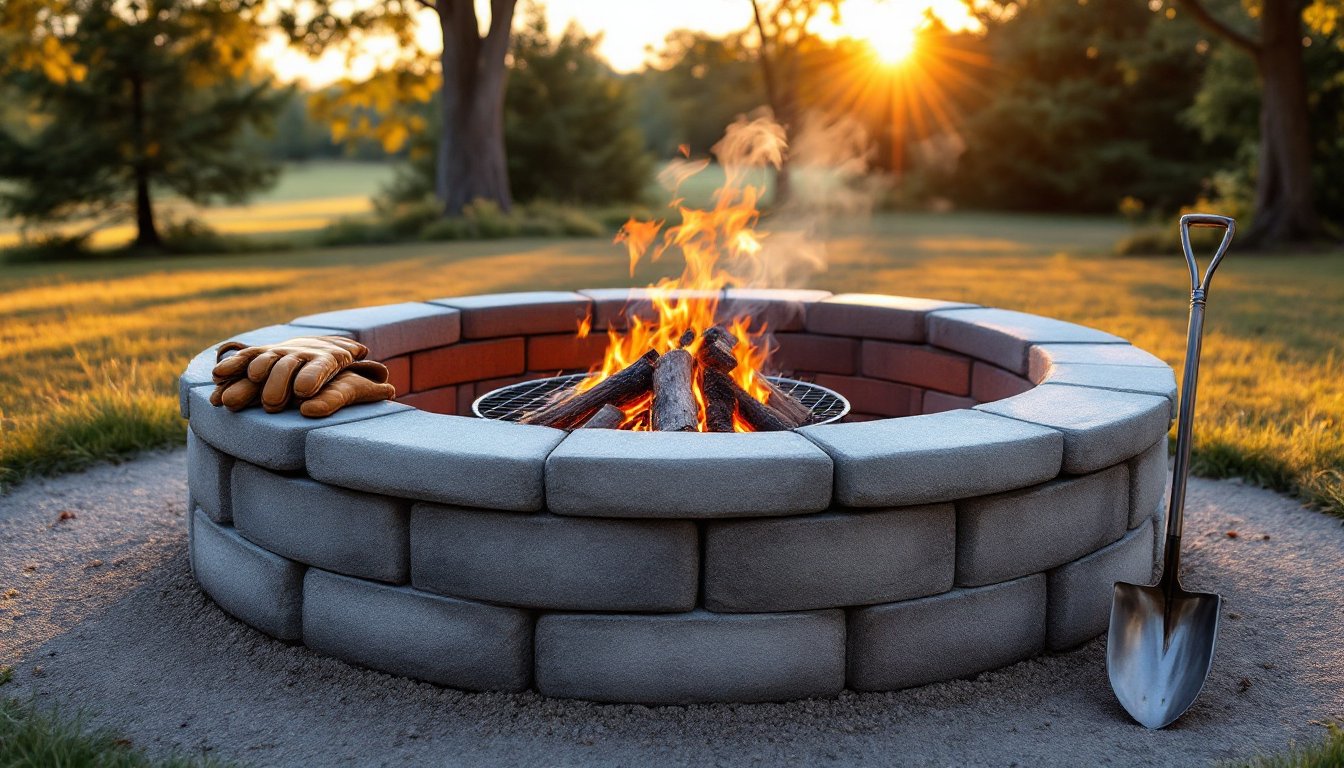
Safety Tips and Maintenance for Your DIY Fire Pit
A well-built pit is a safe pit. Always keep a hose, bucket of water, or fire extinguisher nearby, not at the far end of the yard. Never leave a fire unattended, and never leave children or pets unsupervised around a lit pit.
Routine safety practices:
• Keep fires to 2–3 feet in diameter and no more than 1 foot tall to prevent sparks and embers traveling.
• Extinguish completely before leaving. Stir ashes with a shovel and drown with water: feel with your hand (carefully, over the area, not directly over embers) to confirm no heat remains.
• Inspect brick, stone, or mortar yearly for cracks or movement. Small cracks are normal: large gaps or shifting signal repair is needed.
• Clear the pit of ash, debris, and leaves monthly. Accumulated ash can retain moisture and promote rust on metal rings.
• For metal pits, inspect for rust and scrub with a wire brush annually. Light surface rust is fine: deep pitting may weaken the structure.
• In winter, cover the pit with a grate or metal sheet to prevent water accumulation and ice damage.
PPE and tools:
• Wear heat-resistant gloves (leather works) and long sleeves when tending the fire.
• Keep a shovel and poker nearby to manage logs and embers safely.
• Never use water directly on hot concrete blocks: rapid cooling can crack them. Use ash or sand to smother small flare-ups.
• If you notice cracking or instability, stop using the pit and rebuild affected sections.
Conclusion
Building a DIY fire pit is an achievable spring project that rewards you with years of outdoor gatherings. Concrete blocks offer speed and simplicity: metal rings bring style with zero assembly: stone and brick provide permanence: reclaimed materials cost nothing and add character. Choose what fits your budget, skill level, and yard. Safety, clearance, and drainage are the non-negotiable foundations, get those right, and you’ll enjoy a reliable backyard gathering place from season to season.